We are currently in the process of converting level 3 of Fish Lake from 2D click-based to a 3D scavenger hunt. This process is made relatively simple using the Unity editor. Because we already have 3D assets for the environment and our main character, it is largely a matter of organizing these to create a layout specific to this level.
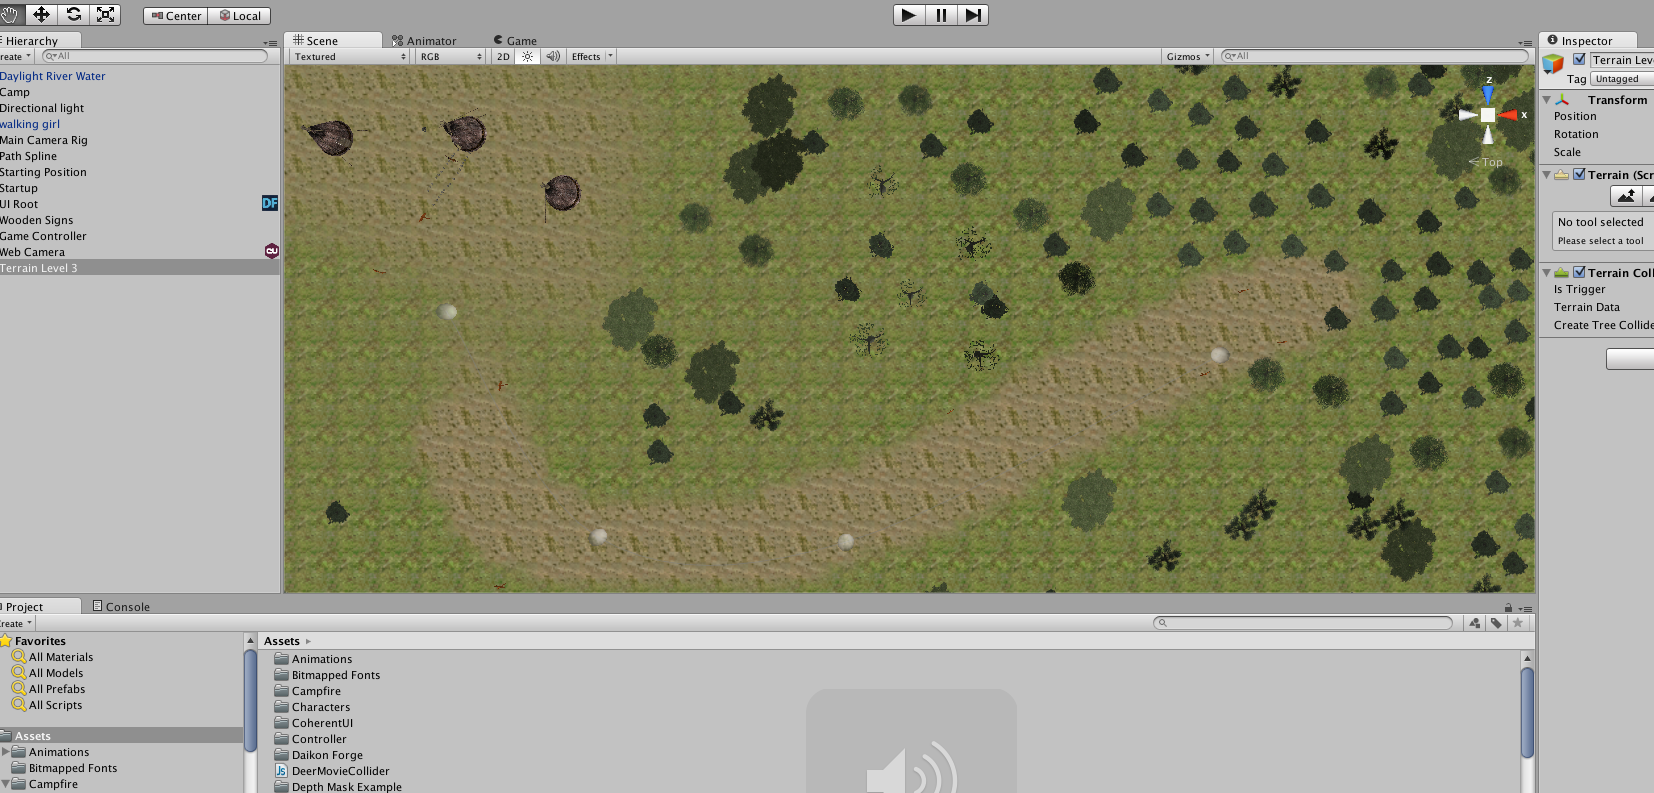
y-axis view
From there, the various items to be collected in this level need to be scattered appropriately throughout the forest. This can be done by simply dragging an object from the Assets folder into the scene.
If the object will have multiple components (such as a mesh, texture, particle effect, sound etc.) as opposed to just the 3D model, then you can create a Prefab, which will combine all of these elements into one file, which can then be dragged into the scene the same way.
After an object has been placed in the scene, its position and characteristics can still be adjusted at any time. You also have complete control over the camera view of the scene while you’re editing.
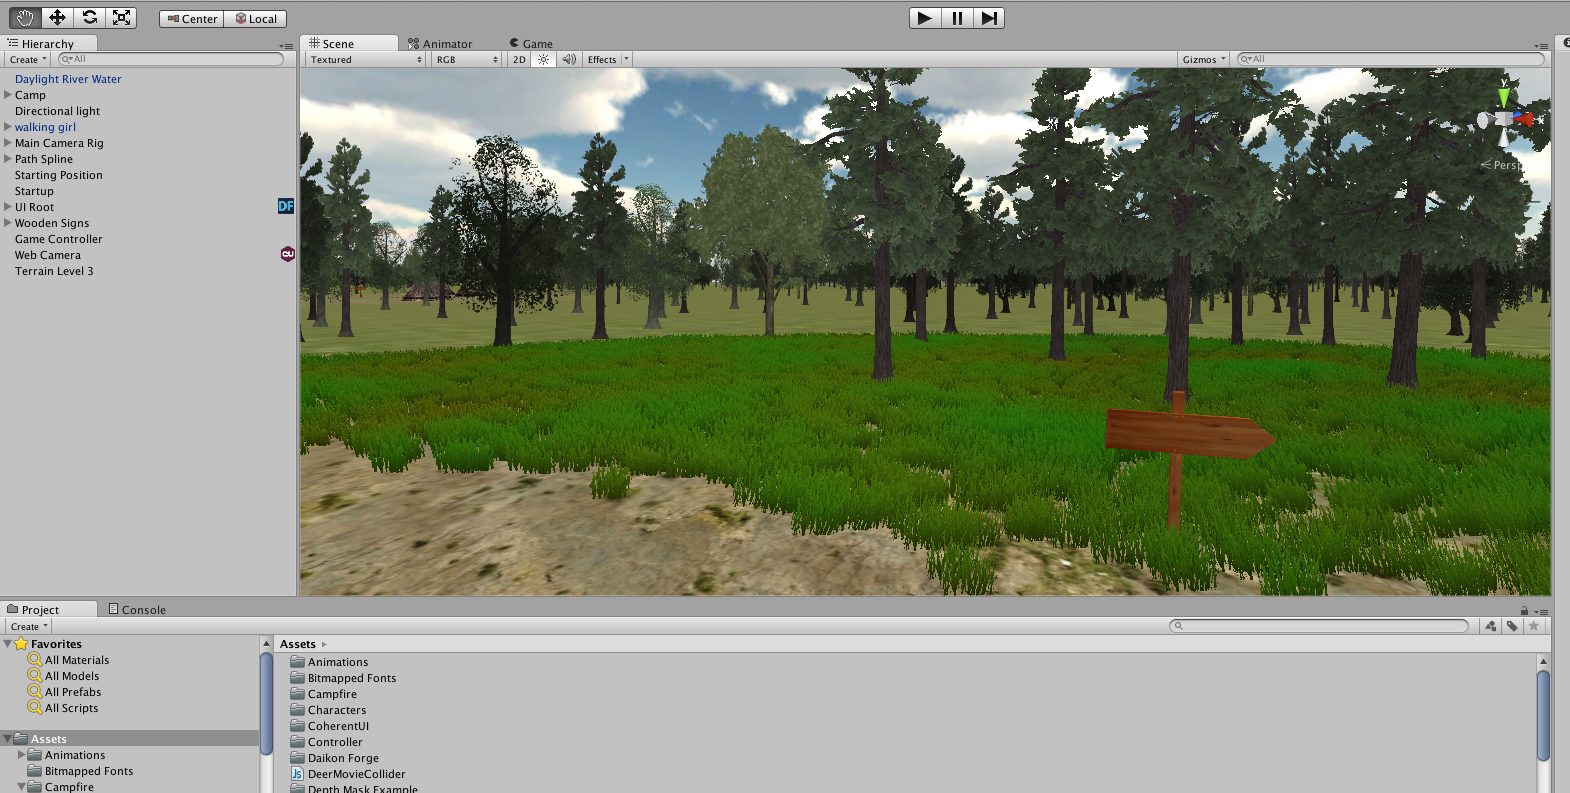
(zoomed-in view)
You can shift the camera to y-axis, for a full overhead view, as well as zoom in on specific elements, as close as you like. As well, you can quickly switch between editing and playing the scene in-game, by clicking the play button. Ease of use has made the Unity editor extremely handy in creating the new level.
More to come. Stay tuned,
-Eric, “the Sound Guy”